Black Line On Laptop Screen Dell
A practical step-by-step guide to black line on laptop screen dell, including preparation, instructions, common issues, tips, and next steps.
Black Line On Laptop Screen Dell
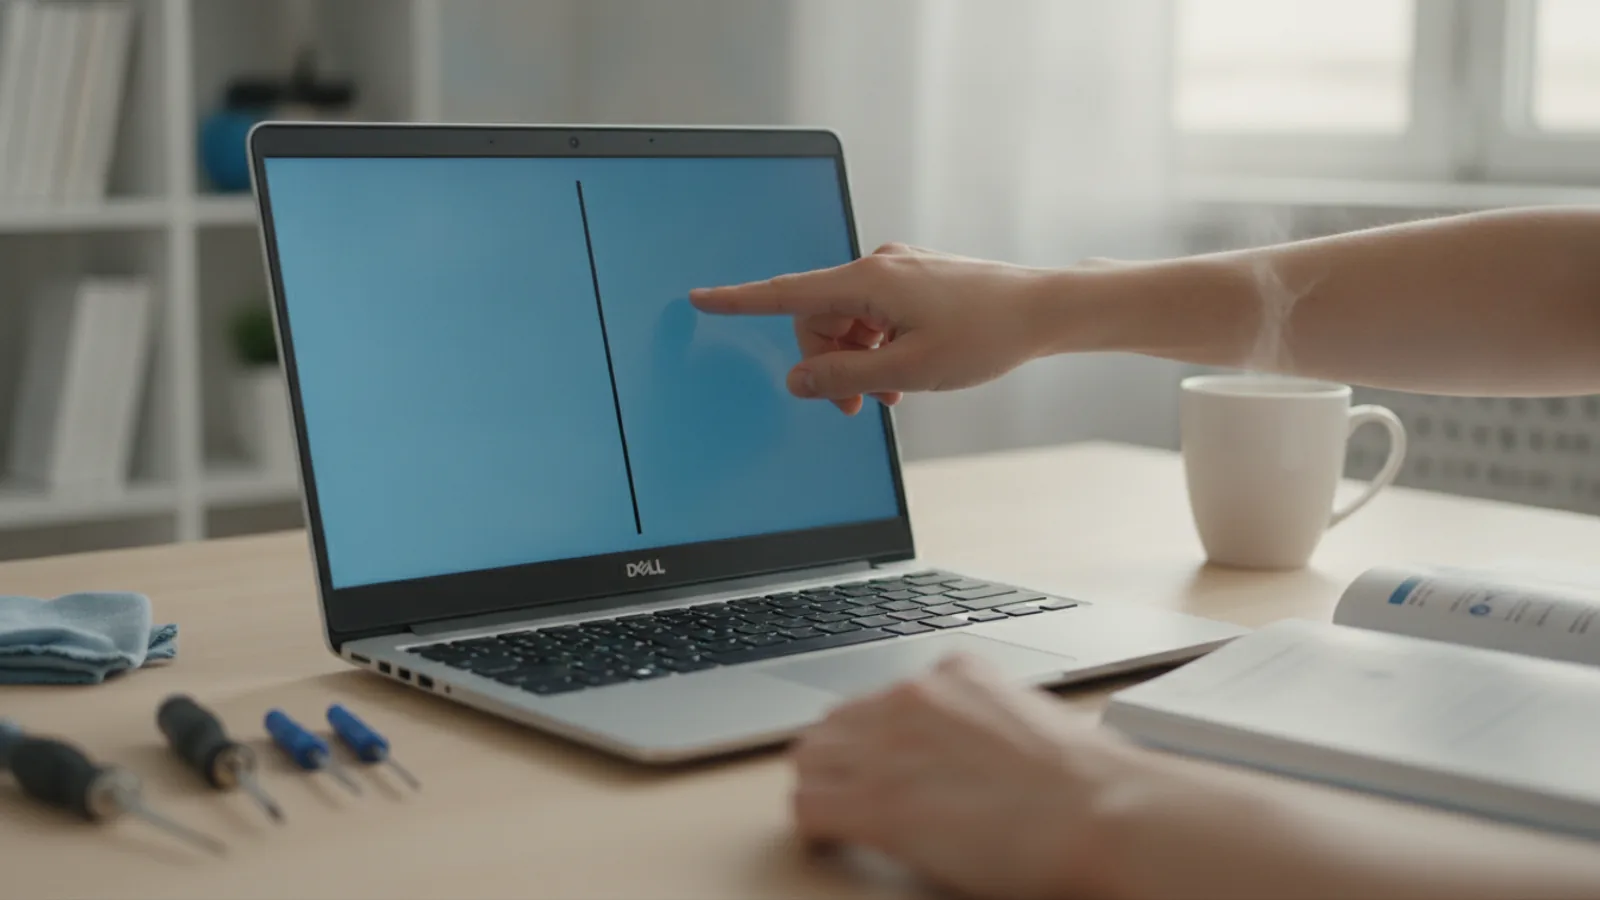
Seeing a black line on your Dell laptop screen can be alarming, but it doesn't always mean your computer is broken. This guide helps you figure out what's causing the line and walks you through the exact steps to fix it. We'll start with simple software checks you can do at home and then explain how to diagnose a hardware problem. This tutorial is for any Dell laptop owner who wants to solve the problem without paying for a repair unless it's absolutely necessary.
Fast Answer
- First Test: Connect to an external monitor. If the line is gone, your laptop screen is the problem. If the line is still there, it's likely a graphics card issue.
- Hardware Check: Turn off your laptop. Hold the D key and press the power button to start the screen self-test. If you see the line on the colored screens, it's a confirmed hardware fault.
- Software Fix: Update your graphics drivers through the official Dell Support website or Windows Update.
Before You Start
- External Monitor: You will need a second monitor or a TV to perform a critical diagnostic test.
- Display Cable: An HDMI, DisplayPort, or USB-C cable to connect your laptop to the external display. Check your laptop's ports to see which one you need.
- Internet Connection: Required for downloading driver updates.
- Your Dell Service Tag: This unique code on your laptop helps you find the correct drivers and check your warranty. It's usually on a sticker on the bottom of the device.
Step-by-Step Instructions
Step 1: Restart Your Laptop
Before diving into complex troubleshooting, perform a simple restart. This can clear up temporary software glitches that might, in rare cases, cause display issues. Go to the Start Menu, click the Power icon, and select Restart. If the line is still there after the computer reboots, proceed to the next step.
This is the quickest and easiest thing to try. While it's unlikely to fix a persistent black line, it should always be your first action for any computer problem.
Step 2: Run the Dell LCD Built-In Self-Test (BIST)
This is the most important step to determine if the problem is with your physical screen. The BIST is a diagnostic tool built into your Dell laptop that operates outside of Windows. This means it bypasses all your software and drivers to test the screen directly.
- Completely turn off your laptop.
- Press and hold the D key on your keyboard.
- While still holding the D key, press the power button.
- Release both when you see the screen light up.
The screen will begin to cycle through a series of solid colors: red, green, blue, white, and black. Look carefully at each color. If the black line is visible on any of these colored screens, you have confirmed a hardware failure with the LCD panel. If the line is not visible, the problem is likely related to software, drivers, or the graphics card.
Step 3: Test with an External Monitor
This test helps you isolate the problem between your laptop's screen and its internal graphics hardware. Find an external computer monitor or a TV and a compatible cable (like HDMI) to connect it to your laptop.
- With your laptop turned on, plug one end of the display cable into your laptop and the other into the external monitor.
- The external monitor should automatically show your desktop. If it doesn't, press the Windows key + P and select Duplicate or Extend.
- Carefully examine the external monitor's display.
If the black line does not appear on the external monitor, the problem is with your laptop's physical LCD screen or the cable connecting it. If the black line does appear on the external monitor, the issue is likely with your graphics card (GPU) or its drivers.
Step 4: Update Your Graphics Drivers
Outdated or corrupt graphics drivers can cause a wide range of display problems. If your tests suggest a software issue, updating your drivers is the next logical step. The best place to get drivers is directly from Dell, as they are tested for your specific hardware.
- Open a web browser and go to the official Dell Support website.
- Enter your laptop's Service Tag or let the site detect your product.
- Navigate to the "Drivers & Downloads" section.
- Look for a category named "Video" or "Display".
- Download the latest driver available for your graphics card (e.g., Intel, NVIDIA, or AMD).
- Run the downloaded file and follow the on-screen instructions to install the new driver. You will likely need to restart your computer afterward.
Alternatively, you can use Windows Update. Go to Settings > Update & Security > Windows Update. Click "Check for updates" and then "View optional updates." If a new graphics driver is available, you can install it from there.
Step 5: Adjust Your Display Resolution
An incorrect screen resolution setting can sometimes cause display artifacts, although it's a less common cause for a solid black line. It's easy to check and reset.
- Right-click on an empty area of your desktop and select Display settings.
- Scroll down to the "Scale and layout" section.
- Find the Display resolution drop-down menu.
- Make sure it is set to the option marked as (Recommended).
- If it's already on the recommended setting, try selecting a different resolution and then changing it back. This can sometimes force the graphics driver to reset.
Step 6: Check the BIOS/UEFI Screen
The BIOS (or UEFI on modern systems) is the low-level software that runs when you first boot your computer, before Windows starts. If the black line is visible here, it's another strong confirmation of a hardware problem because display drivers are not loaded yet.
- Restart your Dell laptop.
- As soon as it starts booting up, repeatedly press the key to enter the BIOS. For most Dell laptops, this is the F2 key. You may also see a prompt on the screen that says "Press F2 to enter Setup."
- Once you are in the BIOS menu, simply look at the screen.
If the black line is present on the blue or grey BIOS screen, it rules out any issues with Windows, drivers, or other software. The fault lies with the display panel, the display cable, or the graphics card itself.
Step 7: Check Your Warranty and Seek Repair
If all signs point to a hardware issue (the line appears in the BIST and BIOS, but not on an external monitor), your final step is to consider a repair. Before paying for anything, check if your laptop is still covered by its warranty.
- Find your Dell Service Tag, usually on a sticker on the bottom of the laptop.
- Go to the Dell Support website and find the "Warranty Status" page.
- Enter your Service Tag to see your coverage details.
If you are in warranty, contact Dell Support to arrange a free repair. If your warranty has expired, you can still contact Dell for a paid repair, or take your laptop to a reputable local computer repair shop for a quote to replace the screen.
Quick Reference
| Situation | Use this | Why |
|---|---|---|
| Line is visible during startup (on Dell logo) | Run the LCD BIST (D + Power) | This confirms a hardware fault before Windows even loads. |
| Line disappears on an external TV/monitor | Check warranty for screen replacement | This isolates the problem to the laptop's built-in display panel. |
| Line is visible on an external TV/monitor | Update graphics drivers | This suggests the issue is with the GPU or its software, not the screen. |
| Line flickers or changes when you move the lid | Contact a repair technician | This points to a loose or damaged internal display cable. |
Common Problems When You Have a Black Line On a Dell Laptop Screen
Even with clear steps, you might run into some confusing situations. Here's how to handle them.
- The line is vertical, not horizontal. The troubleshooting steps are exactly the same. A perfect, single-pixel vertical line often points to a failed column driver on the LCD panel itself, which is a clear hardware failure requiring screen replacement.
- The black line is getting bigger. This is a sign of a physical crack in the screen's layers, even if you can't see an impact point. The liquid crystal is leaking out. Power down the laptop immediately and seek professional repair. Continuing to use it can make the damage spread.
- The line is a different color, like red, green, or blue. This is called a "stuck line" and is caused by the same type of hardware failure as a black line. The diagnostic steps (BIST, external monitor) are identical. It also requires a screen replacement to fix permanently.
Advanced Tips
For users comfortable with technology, these extra steps can provide more information, but they come with risks.
- Update the BIOS/UEFI. On rare occasions, a corrupt BIOS can cause hardware to behave incorrectly. Updating to the latest version from the Dell Support website can be a final troubleshooting step. Warning: A BIOS update is a sensitive process. Ensure your laptop is plugged into AC power and do not turn it off during the update, as an interruption can render your computer unusable.
- Gently press on the screen bezel. Sometimes, a black line is caused by a poor connection where the display cable meets the LCD panel. With the laptop on, very gently twist the screen frame or press on the plastic bezel around the line. If the line flickers or disappears, it indicates a loose connection. This is a temporary diagnostic and not a fix; the connection will still need to be professionally secured. Do not press on the screen itself, as this will cause permanent damage.
- Reseating the display cable. This is an expert-level step. It involves opening the laptop's casing to unplug and replug the display cable from the motherboard. This can fix the issue if the connector is simply loose. However, this will void your warranty and carries a high risk of damaging other components if you are not experienced. Only attempt this if you are out of warranty and have found a reliable teardown guide for your exact Dell model.
Black Line On Laptop Screen Dell FAQ
Can a black line on a Dell laptop screen be fixed?
How much does it cost to fix a black line on a Dell laptop screen?
Will a factory reset get rid of the black line?
Is a single vertical line on my screen a computer virus?
Final Checklist for black line on laptop screen dell
Before you contact support or a repair shop, run through this final checklist to ensure you've done all the necessary diagnostics.
- Did you restart the laptop?
- Did you run the Dell LCD BIST by holding the D key on startup?
- Did you test the display on an external monitor or TV?
- Did you check for the line in the BIOS/UEFI menu (F2 on startup)?
- Did you update your graphics drivers from the official Dell website?
- Did you check your laptop's warranty status using your Service Tag?
By completing these steps, you will know for certain whether you have a simple software issue you can fix or a hardware problem that requires professional service. This knowledge will save you time and money when you talk to a technician.