Dell And Laptop
A practical step-by-step guide to dell and laptop, including preparation, instructions, common issues, tips, and next steps.
Dell And Laptop
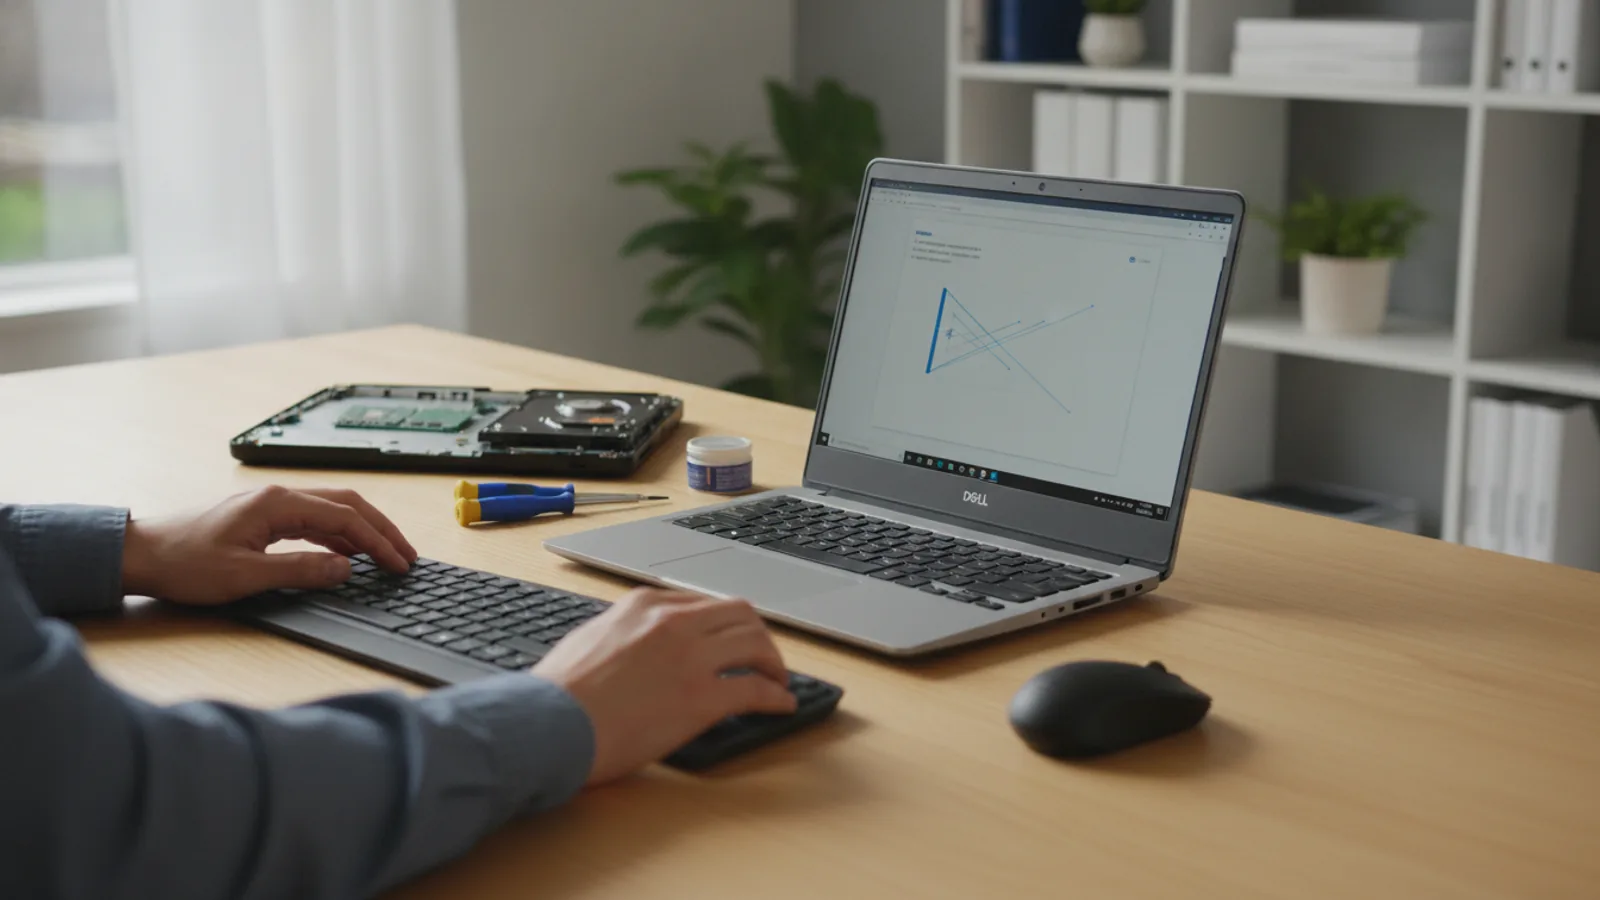
This guide provides clear, step-by-step instructions for setting up a brand new Dell laptop. If you've just taken your computer out of the box, we'll walk you through the entire process, from the first time you press the power button to installing your favorite software. We cover the initial Windows configuration, essential system updates, removing unnecessary pre-installed programs, and configuring security settings. Follow these steps to ensure your new Dell laptop is secure, efficient, and ready for work or play from day one.
Fast Answer
- Initial Setup: Connect to power, turn on the laptop, and follow the on-screen Windows setup prompts.
- Connectivity: Connect to your Wi-Fi network when asked.
- Updates are Key: Once you reach the desktop, immediately run Windows Update and the Dell Update utility.
- Clean Up: Uninstall pre-installed trial software you don't need.
- Security: Set a login PIN and ensure Windows Security is active.
Before You Start
Proper preparation makes the setup process smooth and fast. Taking a few minutes to gather what you need will prevent interruptions and ensure you can complete the setup in one session. You are essentially preparing your new digital workspace.
- Your Dell Laptop and its Charger: Make sure you have the laptop and the power adapter that came in the box. Using the correct charger is crucial for battery health.
- A Stable Work Area: Set up your laptop on a flat, stable surface like a desk or table with good ventilation. Avoid soft surfaces like a bed or couch, which can block cooling vents.
- Wi-Fi Network Name and Password: You will need to connect to the internet to complete the setup and download important updates. Have your Wi-Fi password written down and ready.
- Microsoft Account Details (Optional but Recommended): If you have a Microsoft account (like an Outlook.com or Hotmail address), have your username and password handy. If you don't, you can create one during the setup process.
Step-by-Step Instructions
Unbox and Connect to Power
Start by carefully unboxing your Dell laptop. Inside, you should find the laptop itself, a power adapter (usually in two pieces: the brick and the wall cord), and some basic documentation. Remove any protective film from the screen, keyboard, or chassis.
Before you do anything else, connect the power adapter to the laptop and plug it into a wall outlet. You should see a small indicator light on the laptop or the charger itself turn on, confirming that it's receiving power and charging the battery. While you can start setup on battery power, it's best practice to stay plugged in.
Power On and Complete the Windows Setup
Open the laptop lid and press the power button. Your Dell laptop will boot up for the first time, and you'll be greeted by the Windows setup assistant, which may include a voice guide named Cortana. You can mute Cortana by clicking the microphone icon on the screen if you prefer to read the prompts.
The on-screen wizard will guide you through the first essential steps:
- Select your region and keyboard layout. Confirm your country, preferred language, and keyboard input method.
- Connect to a network. Select your home Wi-Fi network from the list and enter the password carefully. An internet connection is required for the next steps.
- Accept the license agreement. Review the terms and click "Accept" to continue.
- Sign in with a Microsoft Account. You will be prompted to sign in. Using a Microsoft account syncs settings if you have other Windows devices and gives you access to the Microsoft Store. If you don't have one, you can create one. If you strongly prefer not to, you may be able to find an option for an "Offline account" or "Domain join instead," though Microsoft makes this less obvious.
Configure Privacy and Security Settings
After signing in, Windows will ask you to configure several privacy settings. Do not just click "Accept" on the default screen. Take a moment to review each option. These settings control how much data your device shares with Microsoft for things like advertising, location tracking, and diagnostic purposes.
You will be asked to make choices for:
- Location: Turn this off if you don't want apps to know your precise location.
- Find My Device: This is useful if your laptop is lost or stolen. It's generally safe to leave this on.
- Diagnostic Data: You can choose between "Required" and "Optional." Selecting "Required" sends less data to Microsoft.
- Inking & Typing: This helps improve text prediction. You can turn it off for more privacy.
- Tailored Experiences: This uses your diagnostic data to give you personalized tips and ads. Many users turn this off.
- Advertising ID: Turning this off prevents advertisers from showing you personalized ads across different apps.
Next, you will be prompted to create a Windows Hello PIN. This is a numeric code that is much faster for logging in than typing your full Microsoft password every time. If your Dell laptop has a fingerprint reader or an infrared camera, you will also be guided to set up fingerprint or facial recognition login. We highly recommend setting up a PIN and any available biometric options.
Arrive at the Desktop and Run Windows Update
After a few moments of final setup, you will see the Windows desktop for the first time. Your laptop is now usable, but it is not yet ready. The most critical first step is to check for system updates. The version of Windows installed at the factory is often several months old, and there will be important security patches and feature updates waiting.
To do this, navigate to the update screen:
- Click the Start Menu in the bottom-left corner.
- Click the Settings icon (it looks like a gear).
- In the Settings window, click on "Update & Security" (or "Windows Update" in Windows 11).
- Click the "Check for updates" button.
Windows will now search for, download, and install all available updates. This process can take a significant amount of time, from 15 minutes to over an hour, depending on your internet speed and the number of updates. Your laptop may need to restart multiple times. Let this process run until it says "You're up to date."
Update Dell-Specific Drivers and Software
Windows Update handles the operating system, but your laptop's hardware components (like the graphics card, trackpad, and chipset) rely on specific software called drivers. Dell provides these drivers, and keeping them updated is crucial for performance, stability, and battery life.
Most new Dell laptops come with a pre-installed application to manage this. Look for an app named Dell Update or SupportAssist. You can find it by clicking the Start Menu and scrolling through the app list or by typing its name into the search bar.
Open the application and run a scan for new drivers. It will check your system against Dell's database and list any recommended updates for drivers, firmware, or the system BIOS. Install all critical and recommended updates. A BIOS update is especially important as it can improve system stability and security. The computer will restart during this process.
Remove Unwanted Pre-installed Software (Bloatware)
PC manufacturers often include third-party software on new laptops. This can include trial versions of antivirus programs, games, or utility software. This is often called "bloatware" because it takes up disk space, can slow down your system, and may show annoying pop-up notifications.
It's a great idea to review and remove any programs you don't plan to use. Here's how:
- Click the Start Menu, then the Settings gear icon.
- Select the "Apps" category.
- This will show you a list of all installed applications. Scroll through this list carefully.
- If you see a program you don't recognize or want, click on it and then click the "Uninstall" button.
Common programs to consider uninstalling include trial versions of antivirus software (like McAfee or Norton, since Windows has its own capable Windows Security built-in), simple games you won't play, or promotional apps from other companies. Be careful not to uninstall anything with "Dell," "Intel," "Realtek," "NVIDIA," "AMD," or "Microsoft" in the name, as these are likely important system drivers or utilities.
Install Your Essential Applications
With your system updated and cleaned up, it's finally time to make the laptop your own by installing the software you use every day. This will be different for everyone, but common first installations include:
- A different web browser: If you prefer Google Chrome, Firefox, or another browser over the default Microsoft Edge, now is the time to install it.
- An office suite: Install Microsoft Office or an alternative like LibreOffice or Google Docs.
- Communication apps: Install Zoom, Slack, Discord, or any other communication tools you need.
- Media players and creative software: Install programs like VLC Media Player, Spotify, Adobe Photoshop, or anything else you use for your hobbies or work.
Download these programs only from their official websites to avoid accidentally installing viruses or adware. Once this is done, your Dell laptop is fully set up and ready for you to use.
Common Problems When You Set Up Your Dell Laptop
| Situation | Use this | Why |
|---|---|---|
| Laptop won't turn on for the first time. | Press and hold the power button for 10-15 seconds. | This performs a hard reset and can clear a temporary power state issue. Also, ensure the power adapter is securely plugged into both the wall and the laptop. |
| Wi-Fi connection fails during setup. | Double-check the password for typos. If it's still failing, move closer to your router or restart the router by unplugging it for 30 seconds. | An incorrect password is the most common issue. A weak signal or a router glitch can also prevent a successful connection. |
| Windows Update seems stuck or is very slow. | Be patient and ensure you have a stable internet connection. If it's stuck on a certain percentage for over an hour, you can try restarting the laptop. | Large updates can take a very long time to download and install. A restart will usually allow the update process to resume safely. |
| You uninstalled something important by mistake. | Go to the Dell Support website, enter your laptop's service tag, and you can re-download any original drivers or Dell applications. | Dell keeps a complete library of the necessary software for your specific model, allowing you to easily recover anything you accidentally removed. |
Advanced Tips for Your Dell Laptop
Once you've mastered the basic setup, you can use these tips to further optimize your new Dell laptop and protect your data.
Create a System Recovery Drive
A recovery drive is a bootable USB flash drive that contains a copy of your Windows environment. If your laptop ever has a major software problem and won't start, you can use this drive to troubleshoot issues or reinstall Windows completely. To create one, search for "Create a recovery drive" in the Start Menu and follow the on-screen instructions. You will need a blank USB drive, typically 16 GB or larger.
Customize Battery Settings in Dell Power Manager
If you plan to use your laptop plugged in most of the time, keeping the battery at 100% charge constantly can reduce its long-term lifespan. Your Dell laptop likely has a Dell Power Manager utility. Open it and look for battery settings. You can choose profiles like "Primarily AC Use," which will limit the charge level to around 80-90%, significantly extending the battery's health over the years.
Personalize Trackpad Gestures
Modern Windows laptops have powerful trackpad gestures that can speed up your workflow. Go to Settings > Bluetooth & devices > Touchpad. Here you can customize three-finger and four-finger swipes to perform actions like switching apps, showing the desktop, or adjusting volume. Tailoring these to your habits can make using your laptop much more efficient.
Dell And Laptop FAQ
Do I really need a Microsoft account to set up my Dell laptop?
While Microsoft heavily encourages it, you can sometimes still set up Windows with a local (offline) account. However, using a Microsoft account offers benefits like syncing your settings, password, and desktop background across devices, easy access to the Microsoft Store for apps, and integration with services like OneDrive for cloud storage. For most users, it provides a more seamless experience.
The laptop came with a McAfee or Norton antivirus trial. Should I use it?
You can, but it's not necessary. Windows includes a built-in security suite called Windows Security (which includes Microsoft Defender Antivirus) that is robust, free, and provides excellent protection for most users without the constant pop-ups and performance overhead of some third-party trials. Many users choose to uninstall the trial antivirus and rely on the built-in Windows Security.
What is Dell SupportAssist and should I keep it?
Yes, you should keep Dell SupportAssist. It is a very useful utility that automates support from Dell. Its primary functions are to keep your Dell-specific drivers updated, scan your hardware for potential problems, optimize system settings, and make it easier to contact Dell support if you have an issue. It's one of the few pre-installed apps that is genuinely helpful.
How do I find my laptop's model or Service Tag?
Your Dell Service Tag is a unique 7-character code that identifies your specific computer. You can usually find it on a sticker on the bottom of your laptop. Alternatively, you can open Dell SupportAssist, and it will display the Service Tag on its main screen. This code is essential if you ever need to look up drivers or contact customer support.
Final Checklist for Setting Up Your Dell Laptop
Before you dive into using your new machine, run through this final checklist to make sure you've covered all the essential setup steps.
- Connected to Power: The laptop was plugged in during the initial setup process.
- Windows Setup Complete: You have selected your region, connected to Wi-Fi, and signed into your account.
- Security PIN Created: A PIN and/or Windows Hello (fingerprint/face) is set up for fast, secure login.
- Windows is Fully Updated: You have checked for updates in Settings and it now says "You're up to date."
- Dell Drivers are Updated: You have run Dell Update or SupportAssist and installed all recommended driver and BIOS updates.
- Bloatware Removed: You have uninstalled any unnecessary trial software and third-party apps.
- Essential Software Installed: Your favorite web browser, office suite, and other key programs are installed and ready to go.